Expert Tips from Food Photographer Ana Pape of Just a Bit More Cinnamon
If you’re a home baker, cottage baker, or micro-bakery owner, you already wear 27 hats.
Baking. Cleaning. Messaging customers. Deliveries. Farmers markets. Pricing. Scheduling.
And then someone says,
“Don’t forget to post content every day!”
Let’s be honest — it can feel exhausting.
I recently reached out to professional food photographer Ana Pape of Just a Bit More Cinnamon to ask the questions I know so many of us are thinking but don’t always ask. Her answers were practical, realistic, and actually doable for busy bakers.
This guide pulls together her best advice so you can improve your photos and videos without adding hours to your day.
Start Where You Can Maintain
One of the most important reminders Ana shared:
“Don’t let perfection stop you from taking action. Done is better than perfect and you will get better over time.”
You do not need daily content.
Ask yourself what you can realistically maintain:
- Once a week?
- Twice a week?
- Only during market weeks?
Photos are often the easiest place to start. A simple product photo is better than no post at all.
If you don’t have a fresh image ready, tools like Canva let you post weekly menus, market announcements, or “coming soon” updates without even taking a photo that day.
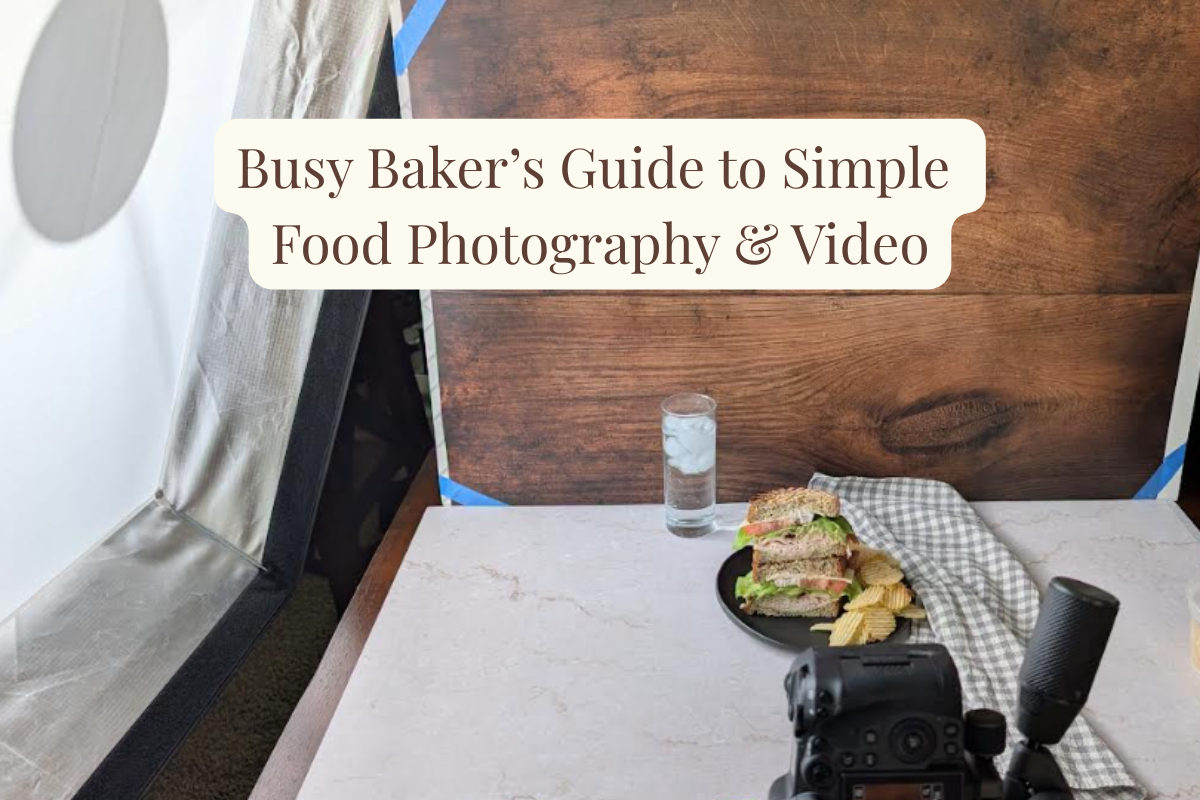
Lighting Matters More Than Fancy Cameras
You don’t need expensive equipment — but you do need light.
Ana emphasizes that side lighting is better than overhead lighting. Overhead lighting tends to flatten texture, while side lighting highlights crusts, cracks, and shine (aka the delicious details).
If you bake before sunrise or after dark:
- Choose one “favorite window” during daylight hours for product photos.
- Use artificial light consistently instead of random lighting.
- Avoid yellow overhead bulbs when possible.
Good lighting is one of the biggest growth areas for micro-bakeries.
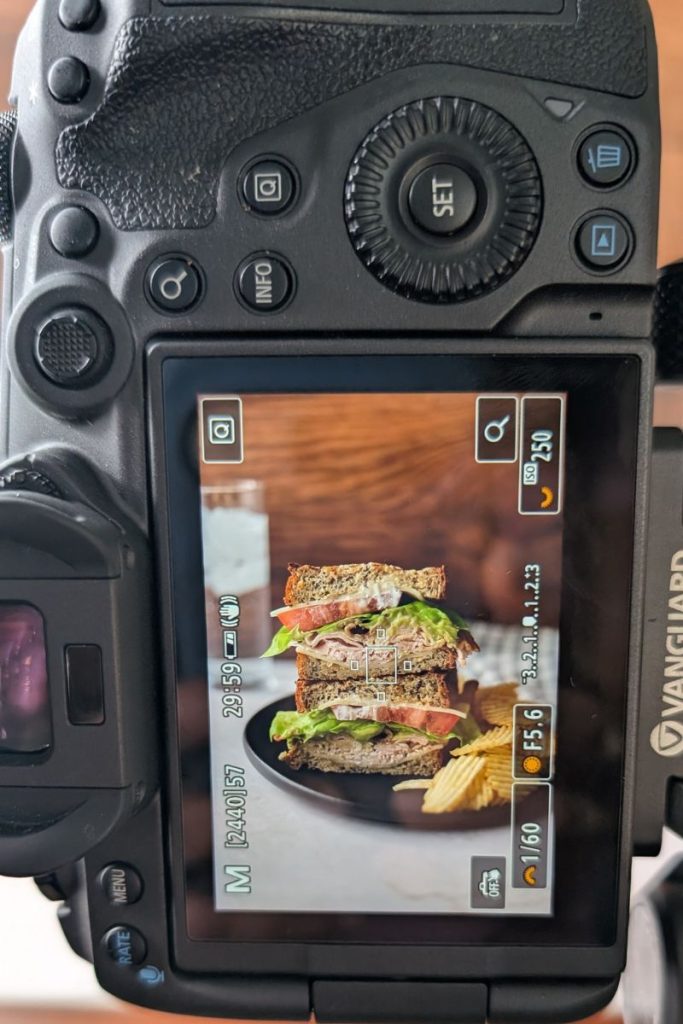
Photo Example by Ana Pape – Just a Bit More Cinnamon
Simple Editing Apps That Actually Help
Editing doesn’t need to be complicated.
Snapseed (Free)
- Easy filters
- Tune Image tool for brightness & shadows
- White Balance removes yellow kitchen lighting
Adobe Lightroom (Free Mobile Version)
- Adjust Exposure, Whites, and Shadows to brighten
- Adjust Temperature to remove blue/yellow tones
- Save presets to reuse the same look every time
Ana notes it’s easy to fall into an editing rabbit hole — step away and come back with fresh eyes if you start overthinking it.
Best Angles for Baked Goods
You don’t need ten angles — just the right one.
Cookies
- Stack them for depth
- Show cross-sections
- Capture while warm for chocolate shine
- Add tiny ingredient props (like cinnamon sticks)
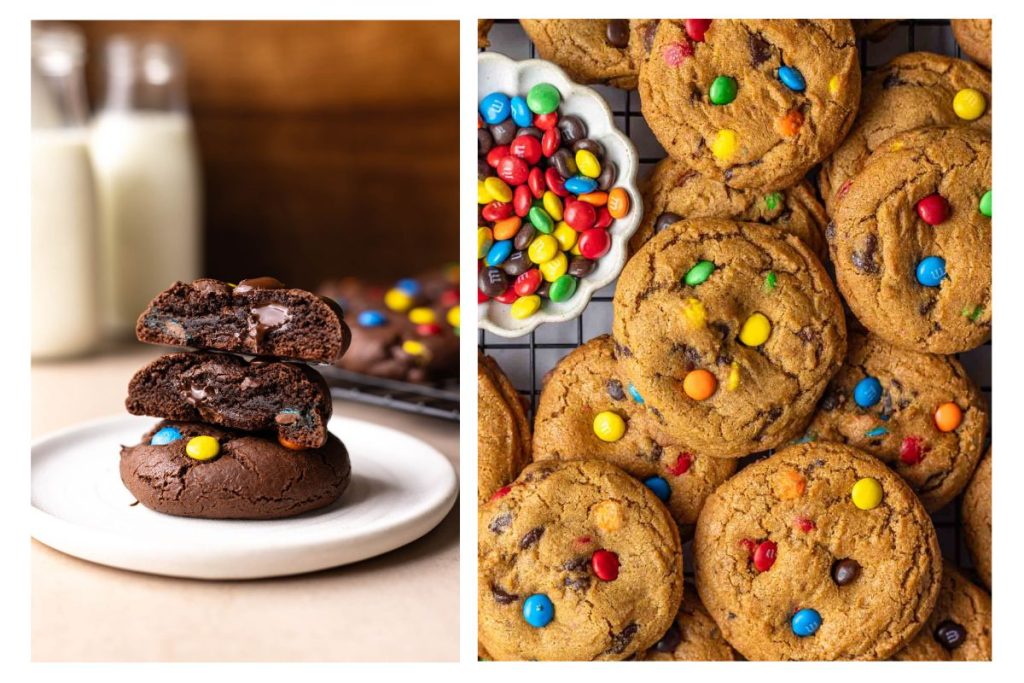
Photo Example by Ana Pape – Just a Bit More Cinnamon
Brownies
- Stack slices vertically for interior texture
- Use a 45° angle to show topping + interior
- Slightly prop a slice to catch reflection
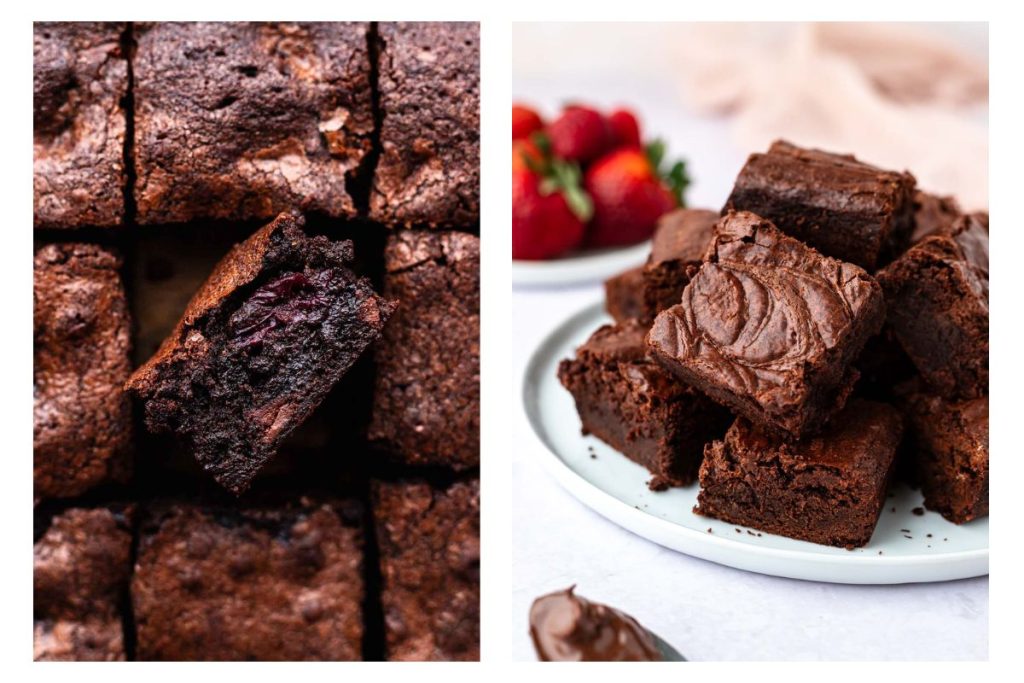
Photo Example by Ana Pape – Just a Bit More Cinnamon
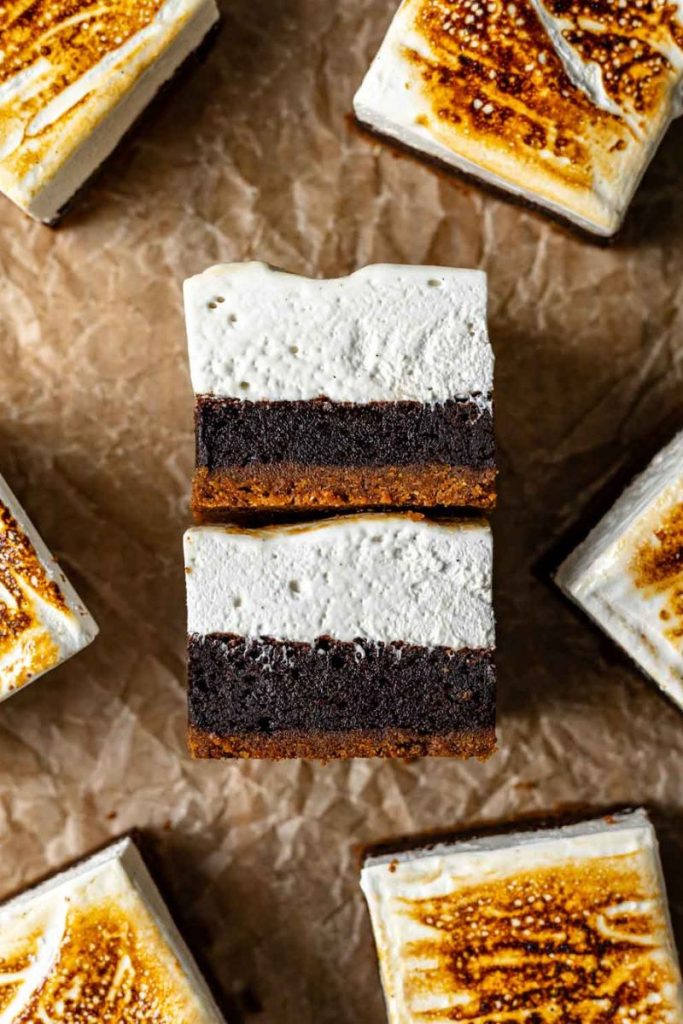
Photo Example by Ana Pape – Just a Bit More Cinnamon
Loaves & Sourdough
- Top-down for scoring
- 45° for crust + crumb
- Hold loaf in hands to show size
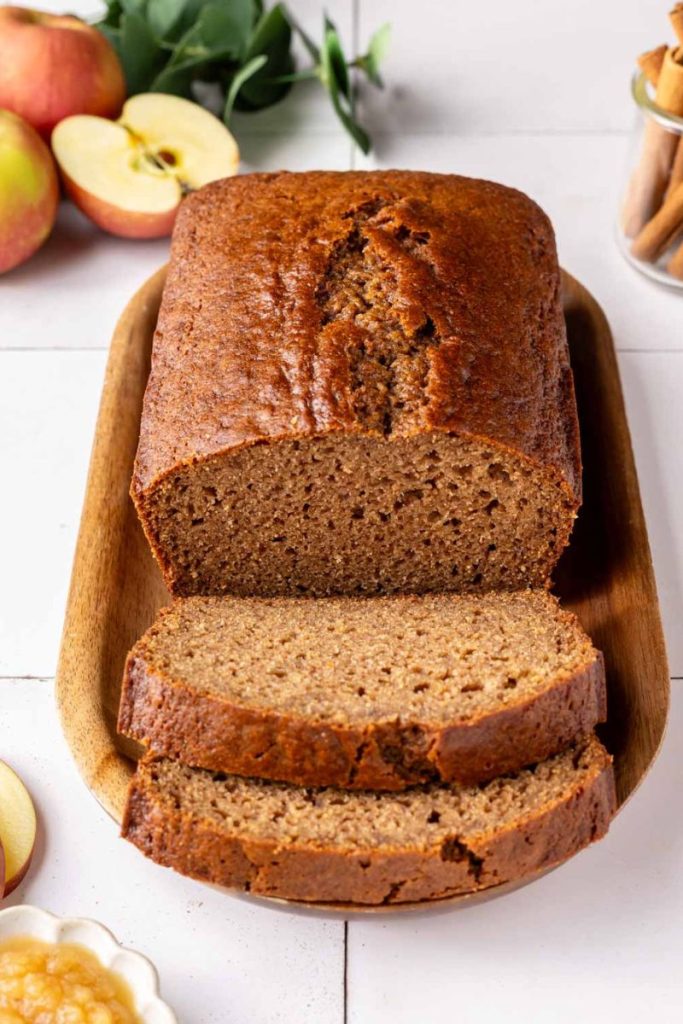
Photo Example by Ana Pape – Just a Bit More Cinnamon
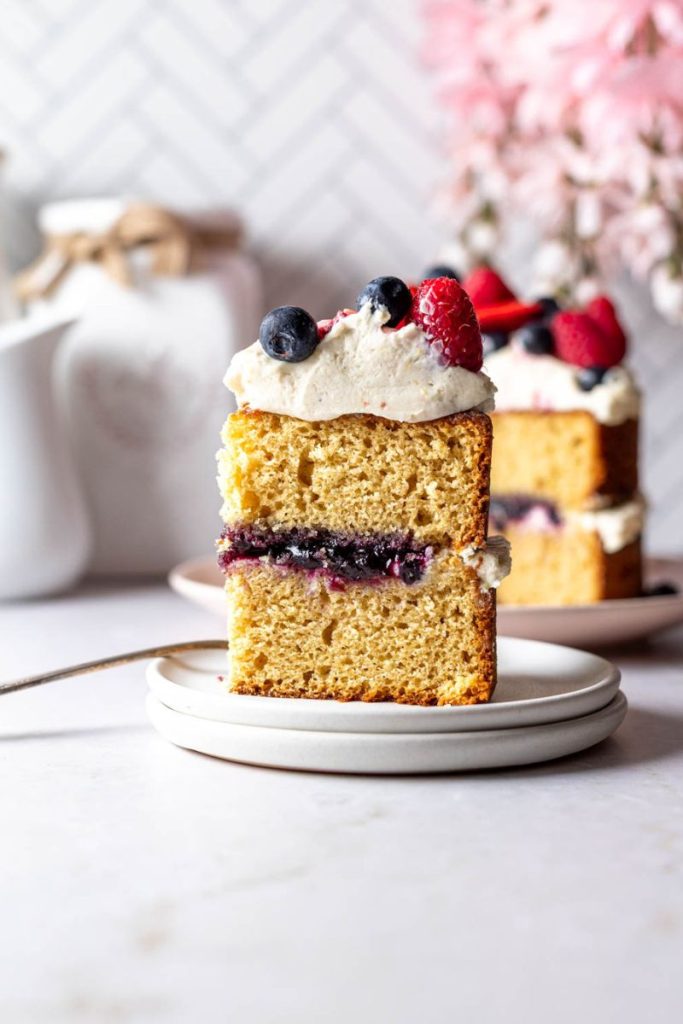
Cakes
- Top-down with slices fanned out
- Straight-on slice shots for layers
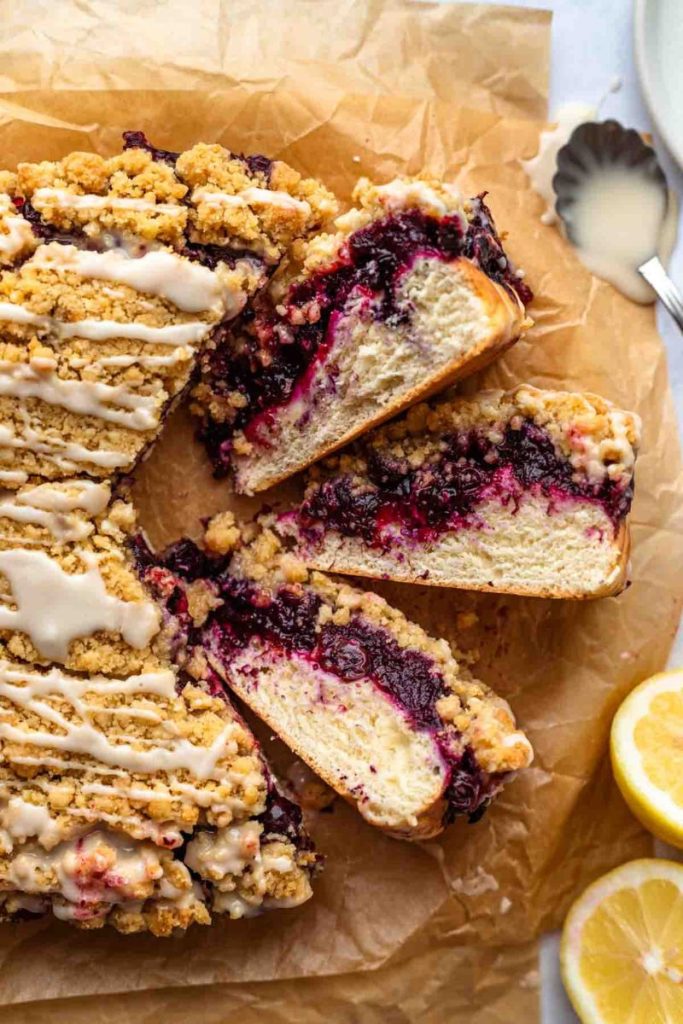
Photo Example by Ana Pape – Just a Bit More Cinnamon
The goal is always the same:
Make the product the star — not the props.
Making “Uncute” Items Look Appealing
Not everything is adorable. Dough. Starter. Batter. We get it.
Ana suggests:
- Simple jars or parchment
- Twine, ribbons, or handwritten tags
- Naming your starter (yes, really!)
- Showing what it becomes in finished photos
You’re not misrepresenting — you’re giving context.
3 Smartphone Tips That Instantly Improve Content
These alone can level you up:
- Clean your lens. (Seriously.)
- Film in 4K even if you post in 1080p — it allows cropping and stabilizing.
- Use a stand or prop your phone for stability.
Filming with Messy Hands
Two lifesavers:
- Voice command camera settings (Accessibility settings on your phone)
- Cheap Bluetooth remotes for photos/videos
No flour-covered fingerprints required.
Showing Personality Without Showing Your Face
Not everyone wants to be on camera — and that’s okay.
Ana recommends:
- Consistent props and color palettes
- Recognizable backdrops
- Small branding tokens or wooden signs
- Voiceovers in videos
You can build a recognizable brand without ever filming your face.
Why This Matters
Customers buy with their eyes first.
Better photos don’t mean perfection — they mean clarity, warmth, and trust.
Small improvements compound over time.
Photographer Spotlight: Ana Pape
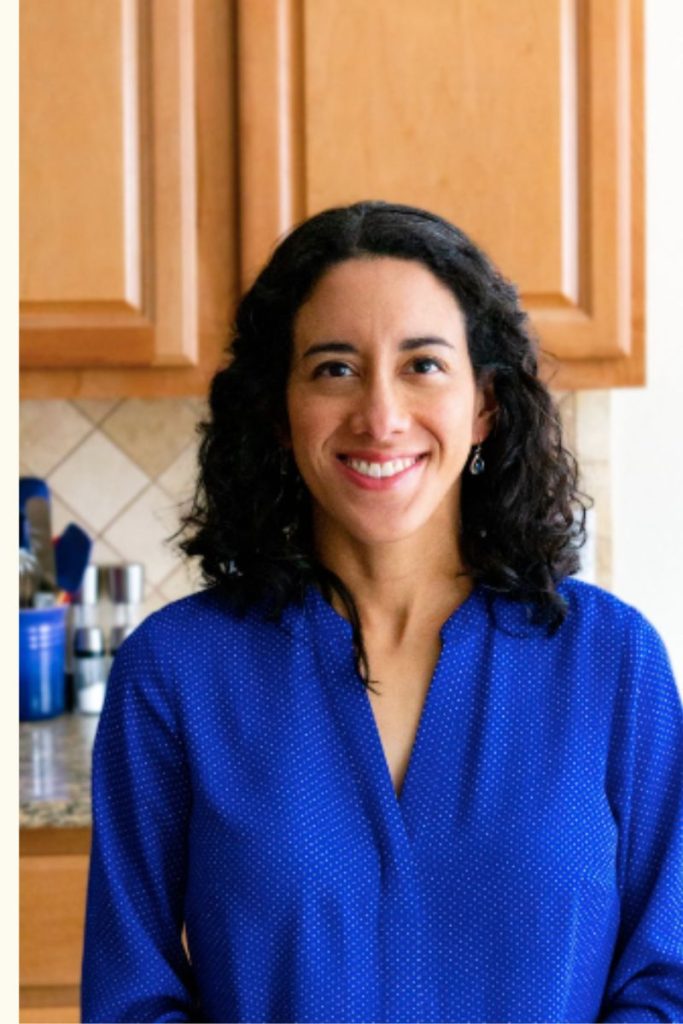
Ana is a Houston-based food photographer and recipe developer behind Just a Bit More Cinnamon. She works with small and national CPG brands to create food photography and recipes designed for marketing, social media, and web use.
A Final Note
If you’ve ever felt behind, overwhelmed, or like everyone else has it figured out — you’re not alone. Most of us are learning as we go.
Huge thank you to Ana Pape for sharing practical, realistic advice that actually fits into a baker’s life. You can find her work at justabitmorecinnamon.com and on Instagram @justabitmorecinnamon — her food photography is absolutely beautiful.
Remember:
You don’t need perfect.
You need consistent, honest, and doable.
You got this!
~h
A special thank you
A huge thank you to Ana for generously collaborating with us on this guide. Her practical, realistic tips and creative insight make food photography and video feel truly achievable for busy bakers — and we’re so grateful for her expertise and time.